Requirements
To install GravityForms, you need:
- WordPress Version 5.3 or newer (installed)
- PHP Version 7.2 or newer
- PayPal business account
- Your PayPal account country and account type must be listed as supported for onboarding before payment in the following PayPal’s documentation page. If PayPal doesn’t support onboarding before payment for your account, you can’t use this add-on.
- You will need Gravity Forms version 2.4 or greater and the Gravity Forms PayPal Checkout Add-On installed and activated.
- Because of the secure nature of capturing payment information, you will be required to install an SSL certificate on your web site if you have not already done so. You will also need to configure your WordPress site to work properly with SSL.Contact your web host if you need assistance purchasing and configuring an SSL certificate. And configure your site WordPress Address and Site Address to use the https prefix once your certificate is ready.
Installation
- Download the GravityForms Plugin (Do Not unzip the download file)
- Log in to WordPress Admin.
- Go to Plugins > Add New.
- Download the GravityForms plugin.
- Click on Install Now and wait until the plugin is installed successfully.
- You can activate the plugin immediately by clicking on Activate now on the success page. If you want to activate it later, you can do so via Plugins > Installed Plugins.
- Go to GravityForms > Addons and install PayPal Checkout Addon
Getting to the PayPal Checkout Add-On Settings
The PayPal Checkout Settings will allow you to connect the add-on to PayPal.
Navigate to the PayPal Checkout Add-On Settings page:
- Log into your WordPress admin dashboard.
- On the left side navigation menu, hover over Forms and click on Settings.
- Click on the PayPal Checkout tab.
Connecting to PayPal
The PayPal Checkout Add-On supports connecting to the Live or Sandbox PayPal environments.
We recommend connecting to the Sandbox environment using a developer account when first configuring the add-on or when modifying existing forms so you can test the forms without interacting with your live PayPal account.
Note: PayPal does not permit connecting to a localhost. Attempting to do so will generate an error message, “Hostname localhost not allowed.” To test locally, try to use a top-level domain such as .local..
You do not need to have an existing PayPal account to connect the add-on, as PayPal will offer you the opportunity to create a new PayPal account whilst connecting the add-on.
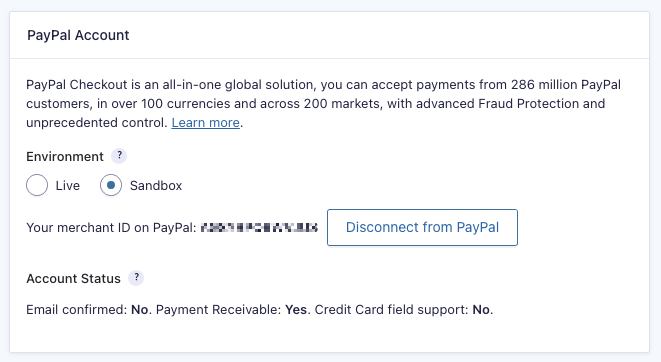
Select the environment and then click the Connect with PayPal button.
When you have completed connecting the add-on to your PayPal account, click the Go back to Gravity Forms button to close the modal. The add-on settings page will reload.
When the add-on is successfully connected, the Connect with PayPal button will be replaced with your PayPal merchant ID and the Disconnect from PayPal button.
Configure a Feed
To configure a PayPal Checkout Feed do the following from your WordPress Admin Dashboard:
- Click on Forms in the left side menu.
- Select the form that you want to use with PayPal Checkout.
- Once within your desired form, hover over Settings and click on PayPal Checkout.
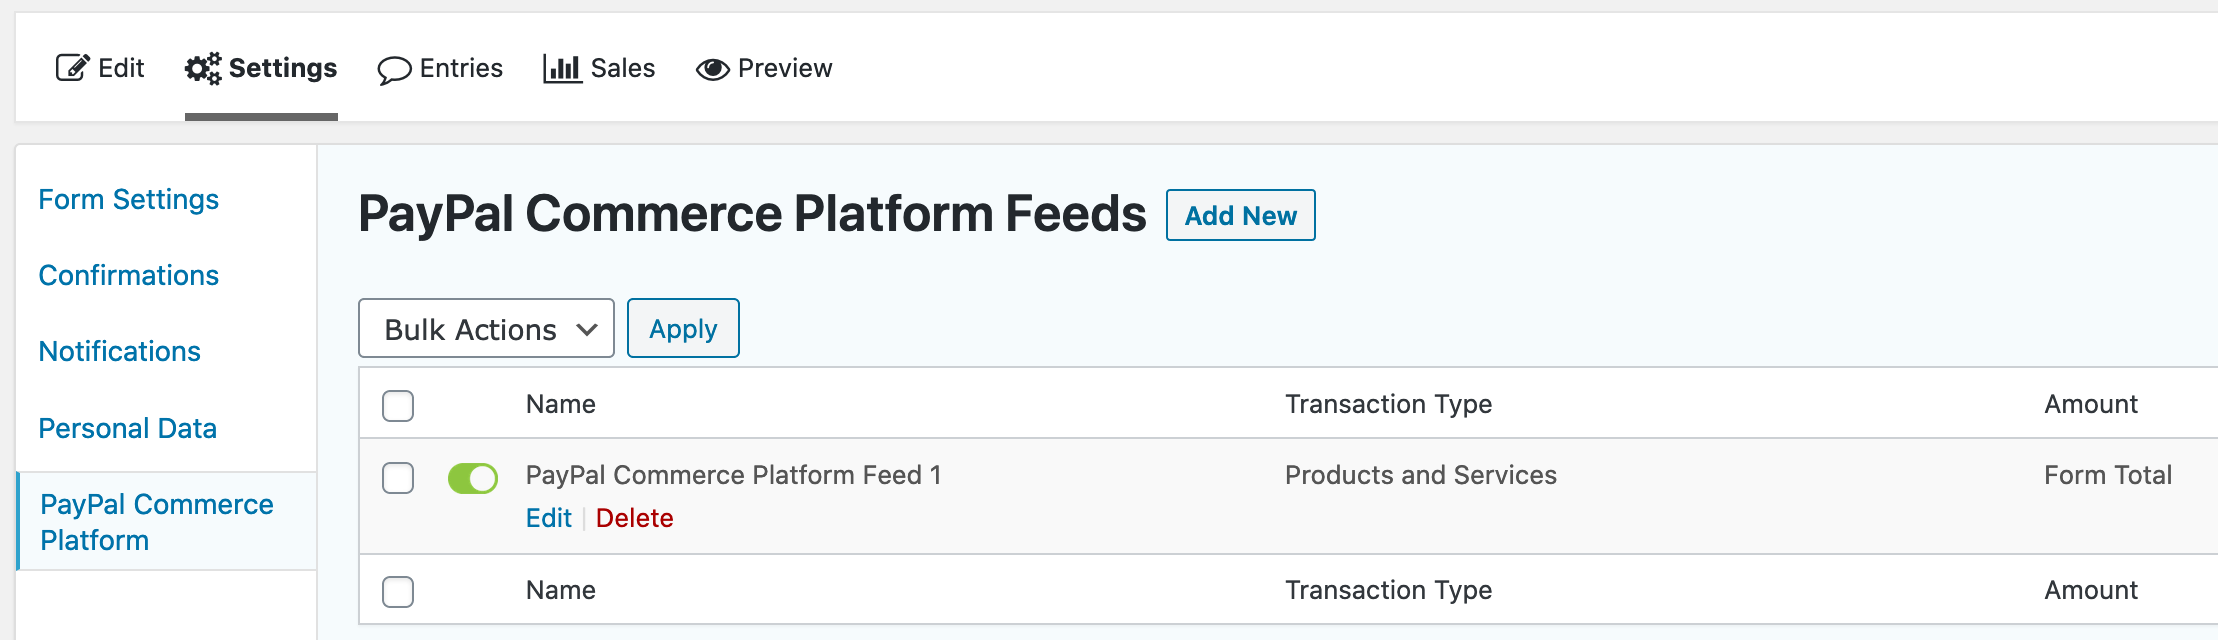
- Click Add New to create a new feed or click the Edit action link which appears when you hover over an existing feed in the table. You will then be presented with the PayPal Checkout feed settings screen.
Note: You can create multiple PayPal Checkout feeds for your form; however, you must configure conditional logic on them. The PayPal Checkout Add-On will only process one feed during submission; if conditional logic is not configured, it will use the first feed it finds.
Create or Edit Your Form
- From the left-hand navigation menu of your WordPress admin dashboard, hover over Forms and click on New Form.
- Enter a Form Title and Form Description. Click Create Form. Alternatively you can hover over Forms and click on Forms to choose an existing form from the list.
- Add fields for capturing customer billing and/or delivery information. We included the Name, Address and Email fields to get basic information from customers; however, you can use other field types (such as Single Line Text fields) to collect this information if you prefer.
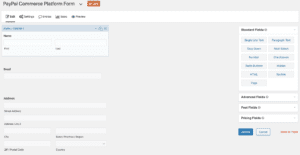
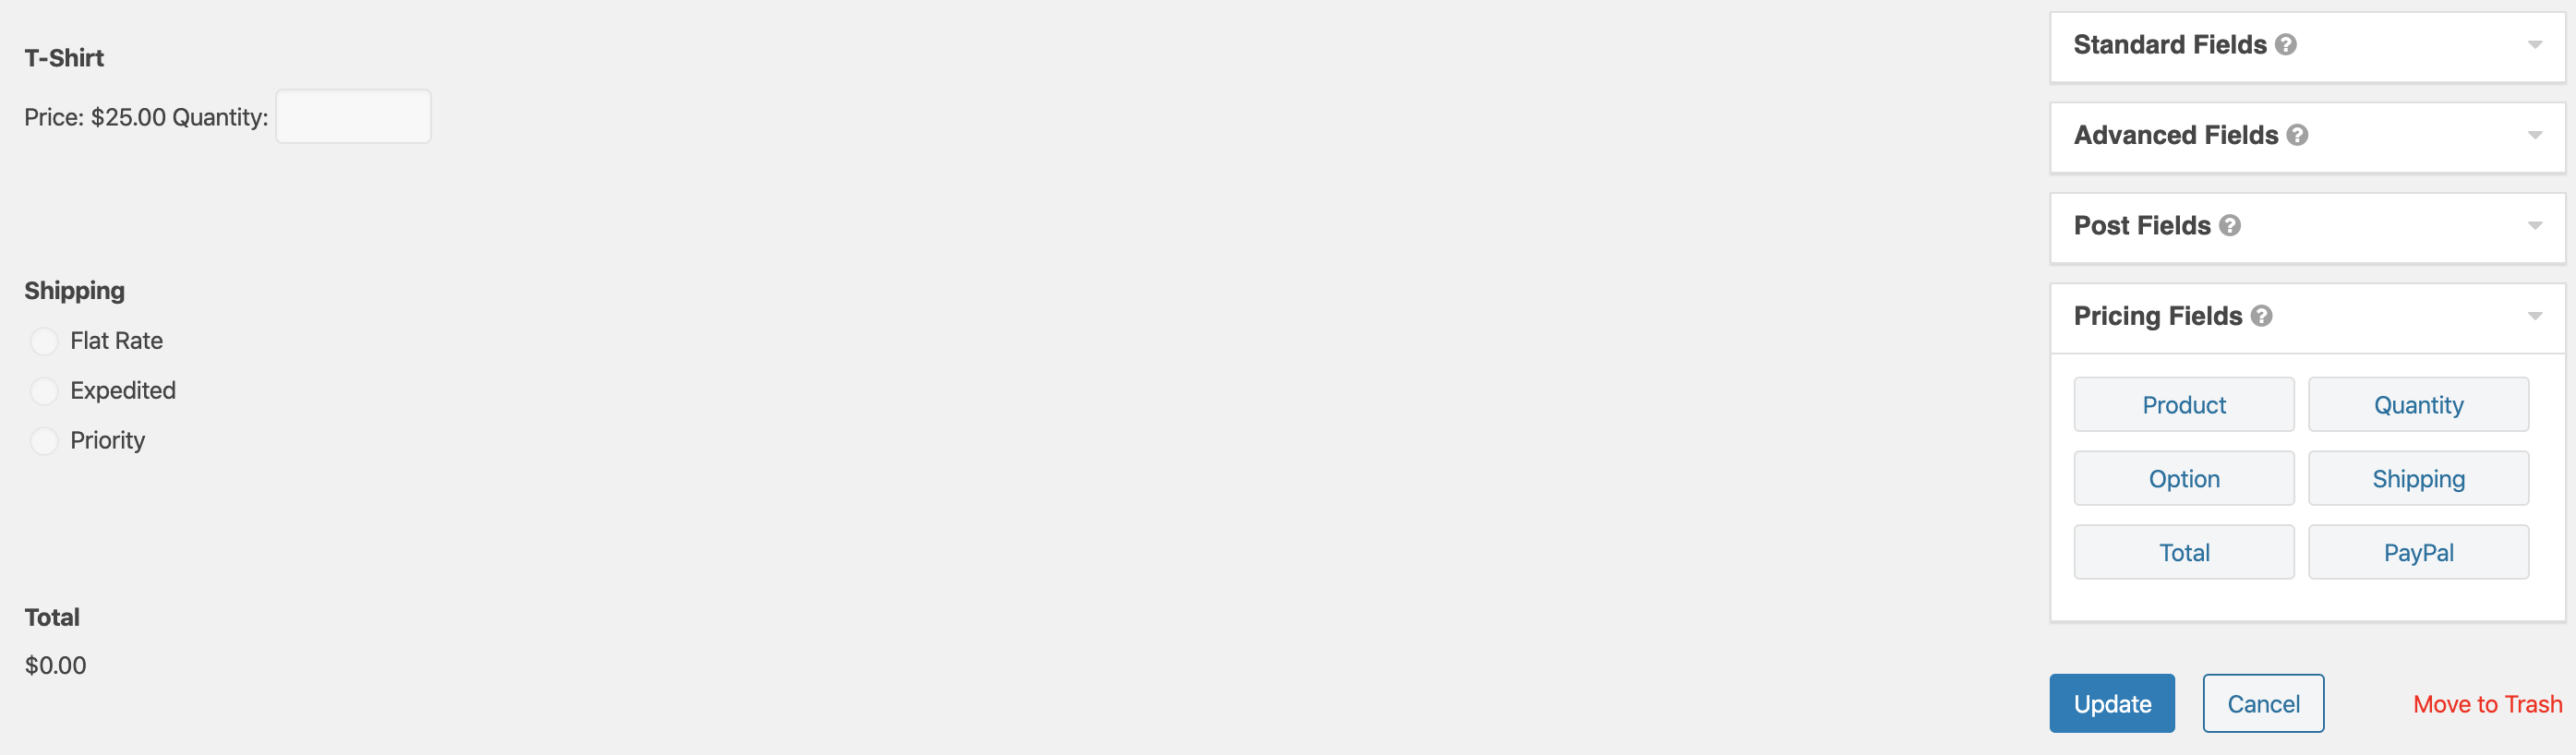
- Add Pricing fields to your form and configure them as needed. In this example Product, Shipping, and Total fields serve as the Pricing fields.
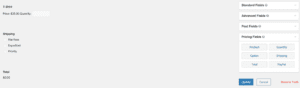
- Add the PayPal Field – Expand the Pricing Fields section and add the PayPal Field to your form. When using multiple add-ons, such as the Stripe Card field, conditional logic should be used to show/hide the field depending on the payment processor selected in another field such a Drop Down field. See the Setting Up Conditional Payments In Gravity Forms article for an example. Note: The PayPal Field is not compatible with the Gravity Forms Credit Card field.
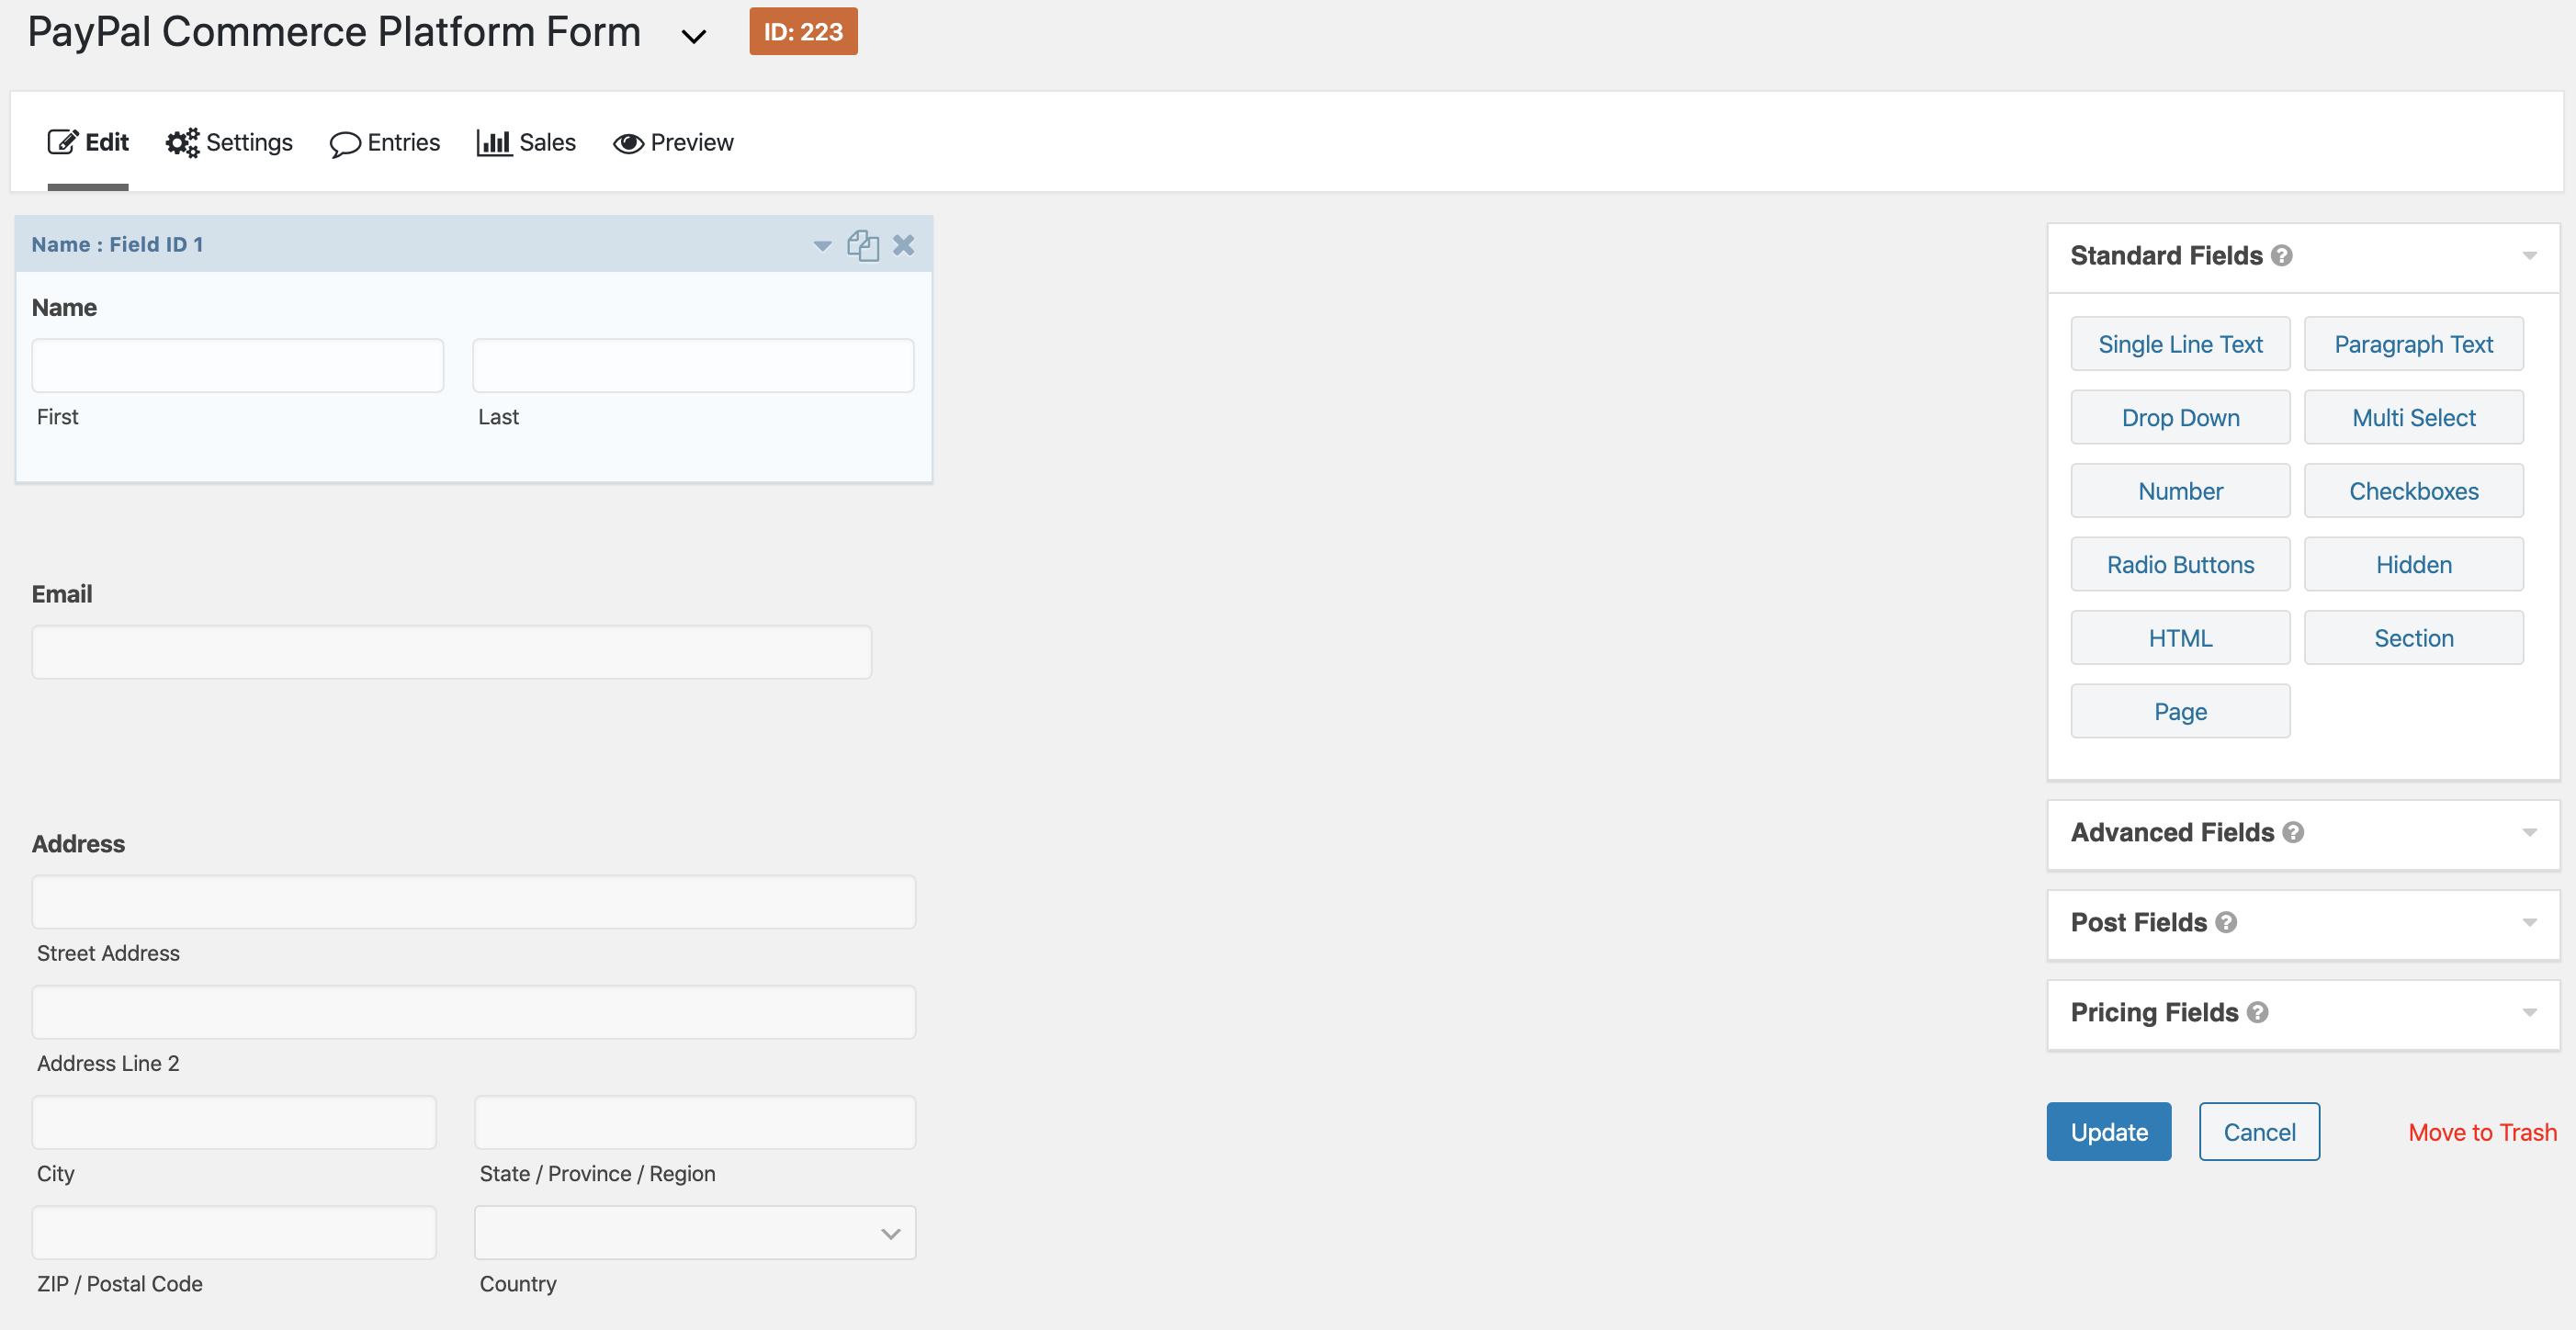

If your form does not look exactly like the images above, don’t panic. Every form will vary depending on which fields were selected and what order they were added to the form. As long as you have pricing fields of some sort and the PayPal Field, your form is valid for integration.
Resources