LATEST Woo PayPal Payments

LATEST Woo PayPal Payments
WooCommerce PayPal Payments is a full-stack solution that offers powerful and flexible payment processing capabilities. Set up quickly. Enable payment acceptance easily. Offer your customers a seamless checkout experience and get paid quickly.
WooCommerce PayPal Payments is the only payments extension that includes PayPal, Pay Later, Vaulting, advanced credit and debit card processing, and local payment methods.
By integrating with WooCommerce PayPal Payments, you can:
- Offer full-stack payment processing – the choice of payment methods for your customers.
- Smart payment buttons – present relevant payment methods to your customers in specific markets. With one integration, sellers can automatically offer more payment method options as they become available.
- Fully customizable card fields for Advanced Card Payments.
- Use the latest PayPal features in a single integration, including PayPal Pay Later.
Requirements
To install WooCommerce PayPal Payments, you need:
- WordPress Version 5.3 or newer (installed)
- WooCommerce Version 3.9 or newer (installed and activated)
- PHP Version 7.2 or newer
- PayPal business or personal account
Installation
- Log in to WordPress Admin.
- Go to Plugins > Add New.
- Search for the WooCommerce PayPal Payments plugin.
- Click on Install Now and wait until the plugin is installed successfully.
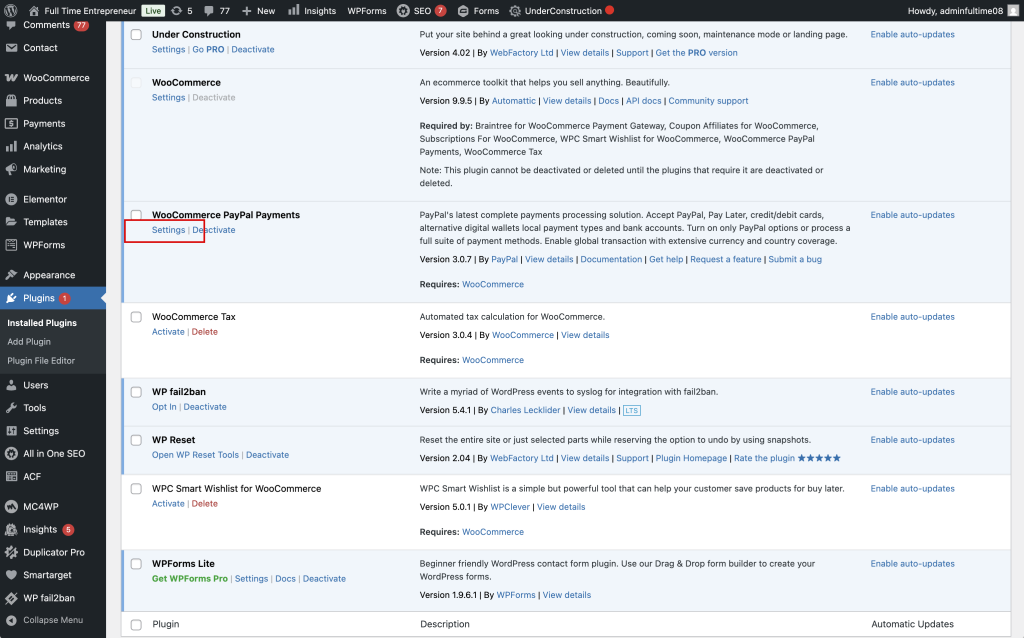
- You can activate the plugin immediately by clicking on Activate now on the success page. If you want to activate it later, you can do so via Plugins >Installed Plugins.
Accessing Plugin Settings after Install (2 - Ways)
Connect PayPal Account
Once the WooCommerce PayPal Payments extension has been installed and activated, it needs to be connected to your PayPal account.
The integrated onboarding connects a PayPal account via login credentials (email and password) without the need for API credentials. The onboarding automatically creates a new REST application in the PayPal developer site, registers the webhooks, and enables relevant features such as Vaulting. The account can also be connected manually, but the onboarding process is the preferred option as it automatically configures the REST App and credentials.
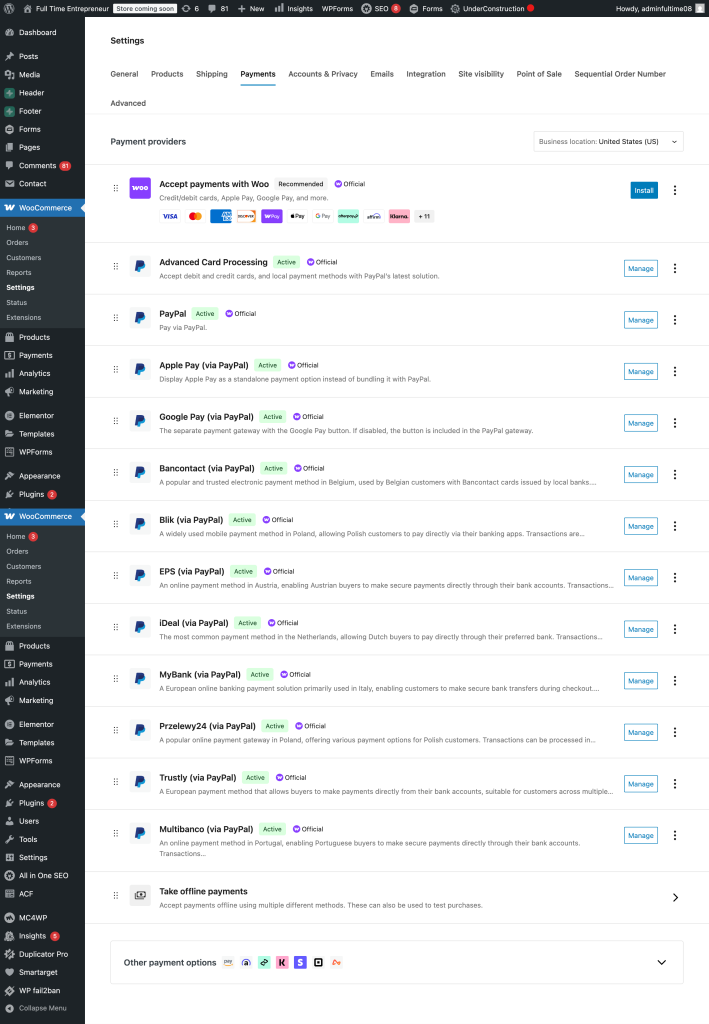
- After installing and activating the WooCommerce PayPal Payments extension, go to WooCommerce > Settings
- Click the Payments tab
- The Payment methods list may include two PayPal options
- Click Set Up (or Manage if the extension is already active) next to PayPal. (not PayPal Standard)
- The Account Setup section presents different options for the onboarding process:
Connecting Manually
Manual credential input
If preferred, the PayPal account can also be connected manually with API credentials.
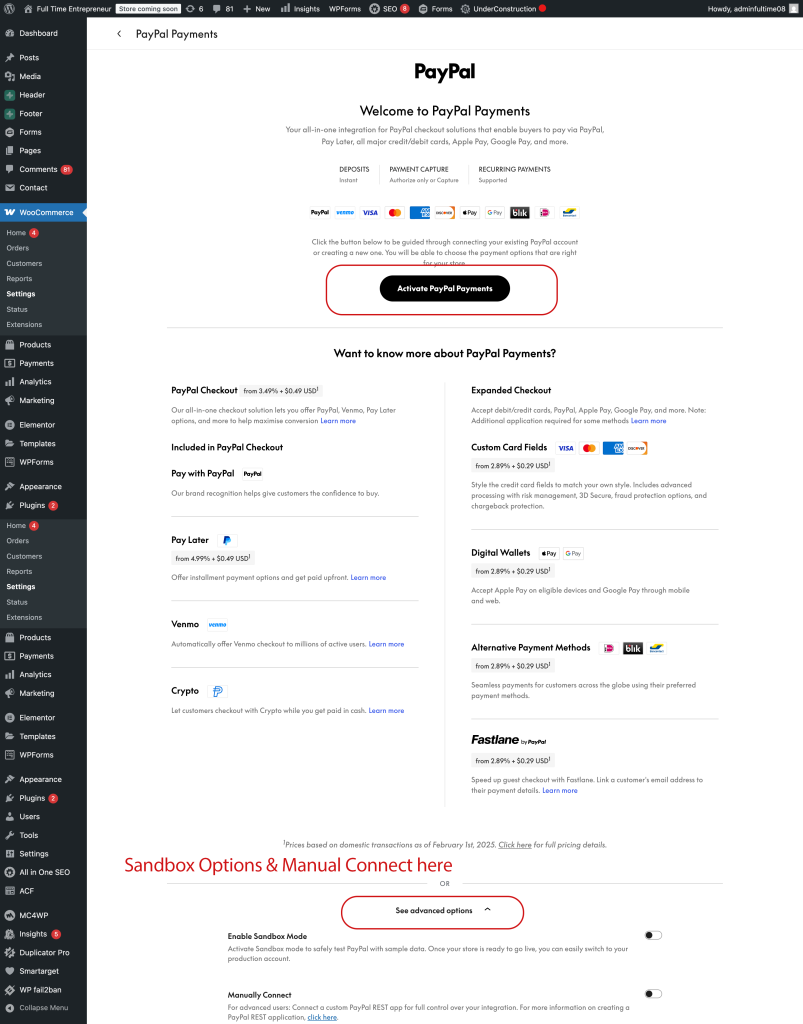
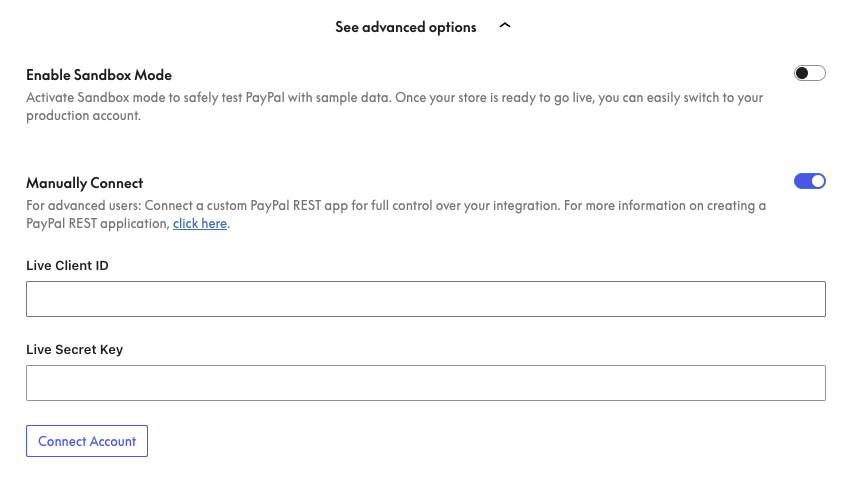
Dropdown the See advanced options in the Welcome screen. A REST application must be created on the PayPal developer site to retrieve the API credentials needed to connect the account. The steps below describe how to find the required Client ID and Secret Key.
Toggle Enable Sandbox Mode if you are manually connecting a sandbox account.
Note: Vaulting must be manually enabled in the REST application on the PayPal developer site to enable it in the plugin settings.
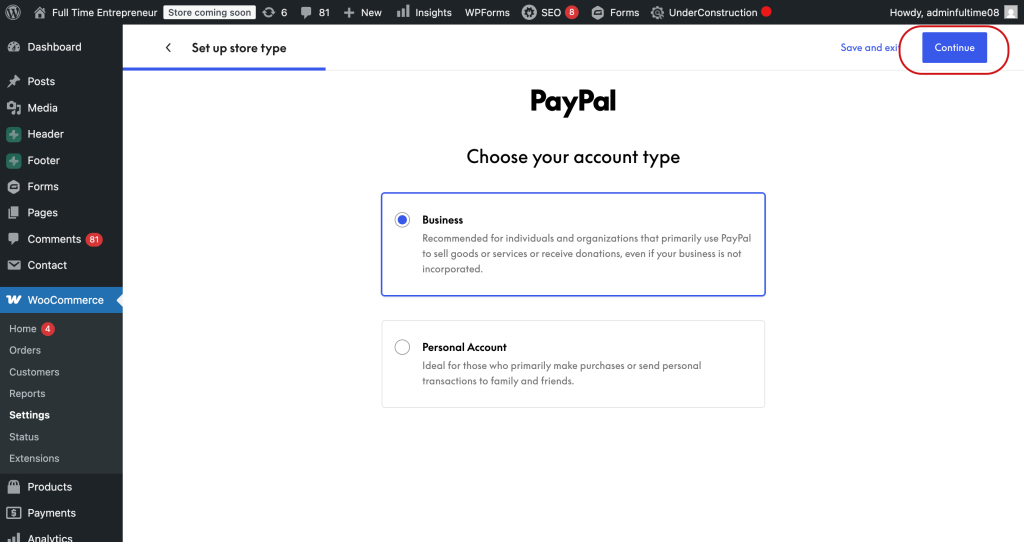
Chose your Account Type
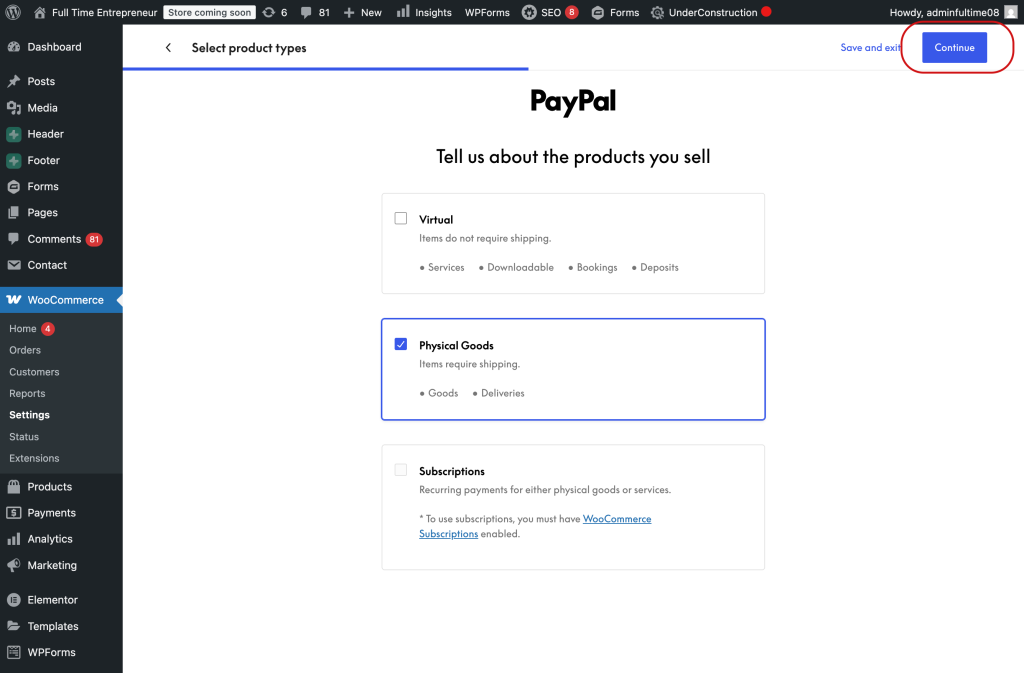
Chose your Products
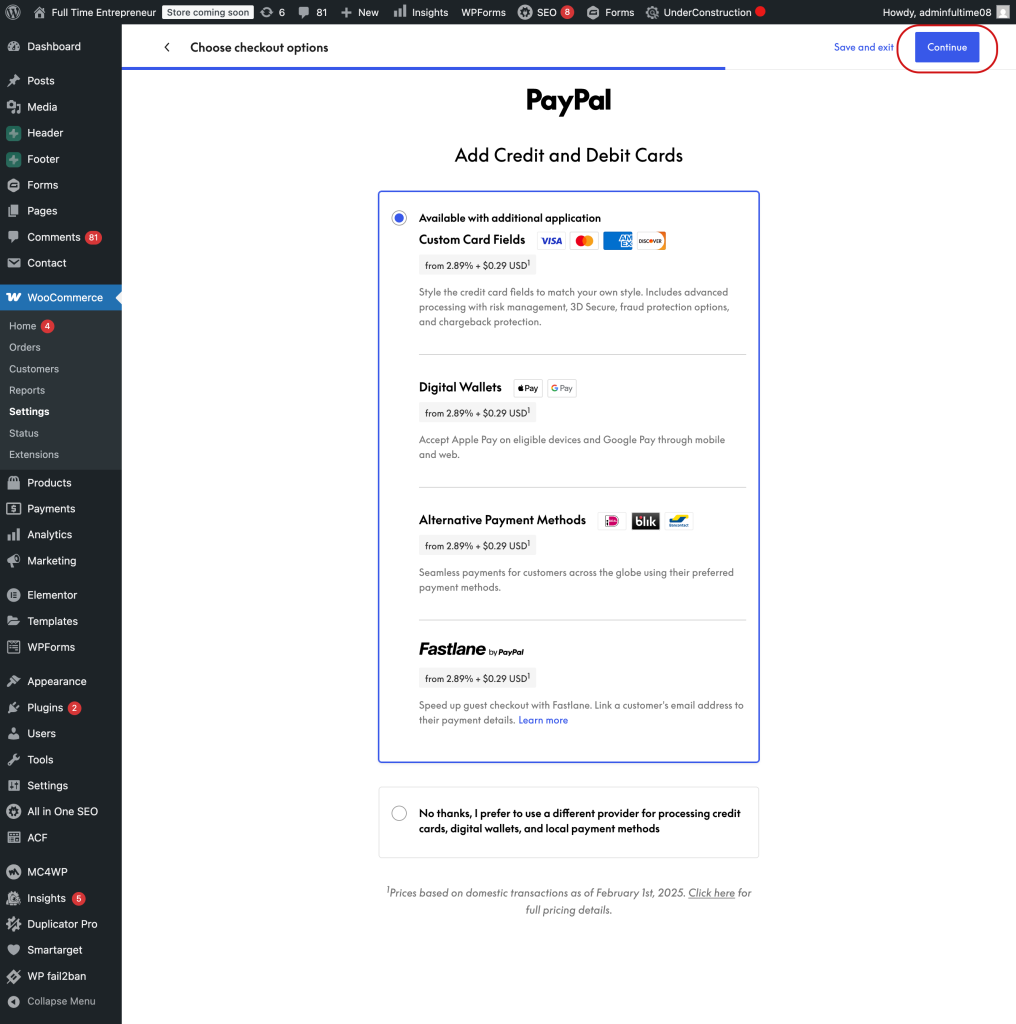
Select your PayPal Payment Methods & Services
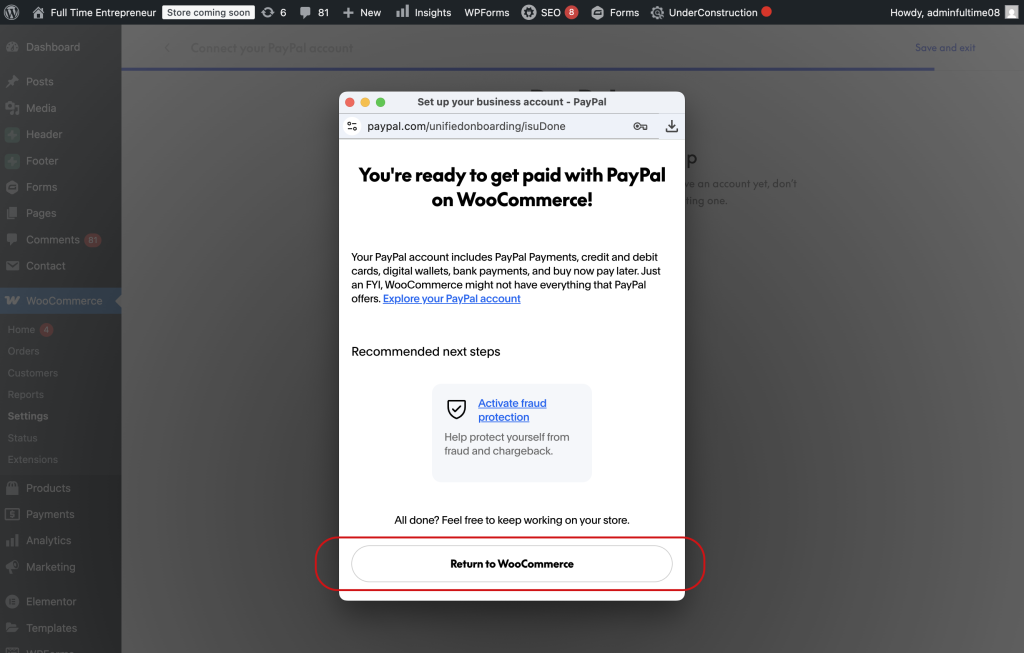
Connect your PayPal Business Account
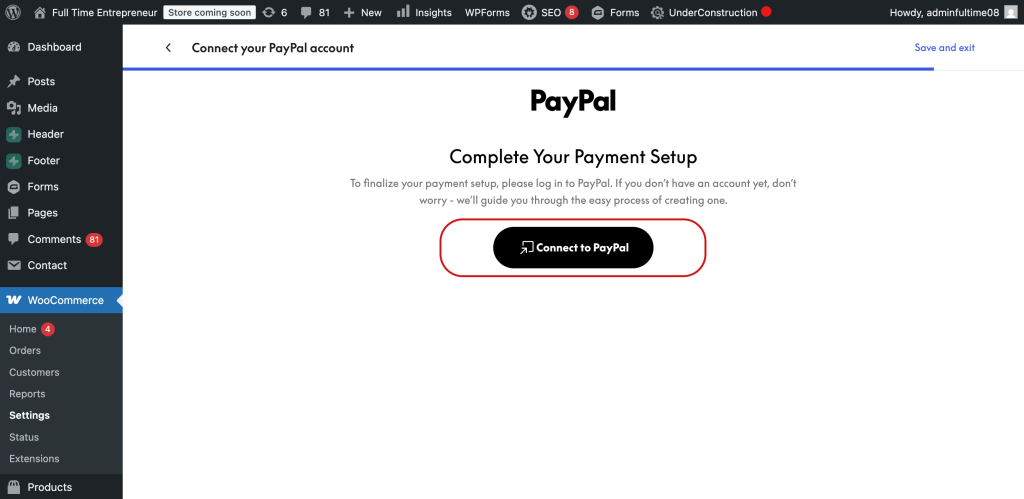
Log into your PayPal Business Acccount using the primary email address and password for the account. After completing the Onboarding click the Return to Woocommerce button.
Select your PayPal Payment Options
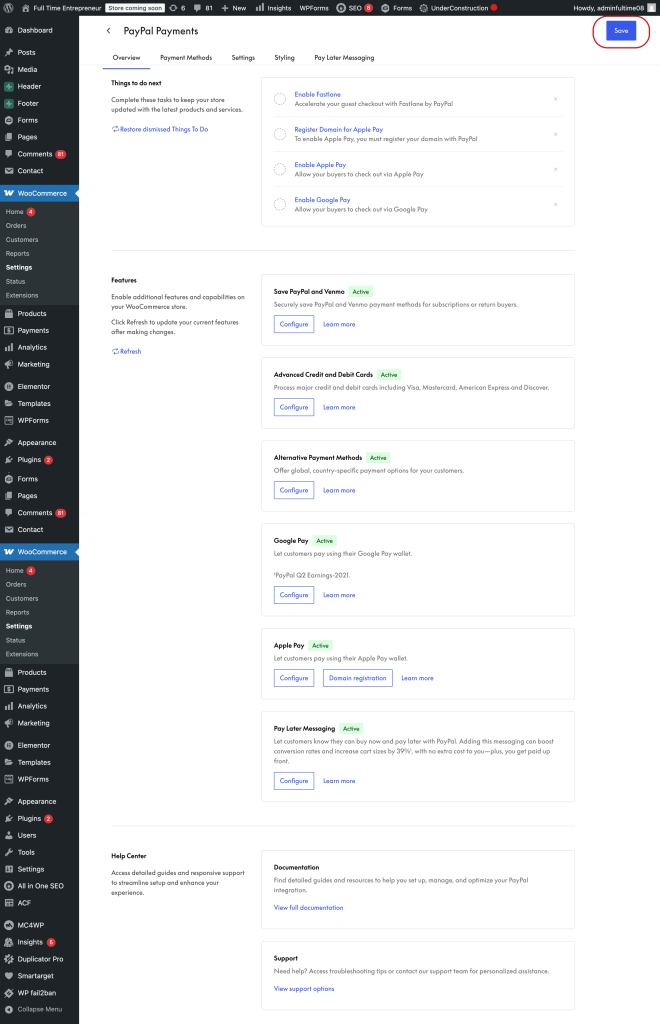
Payment Methods
![]()
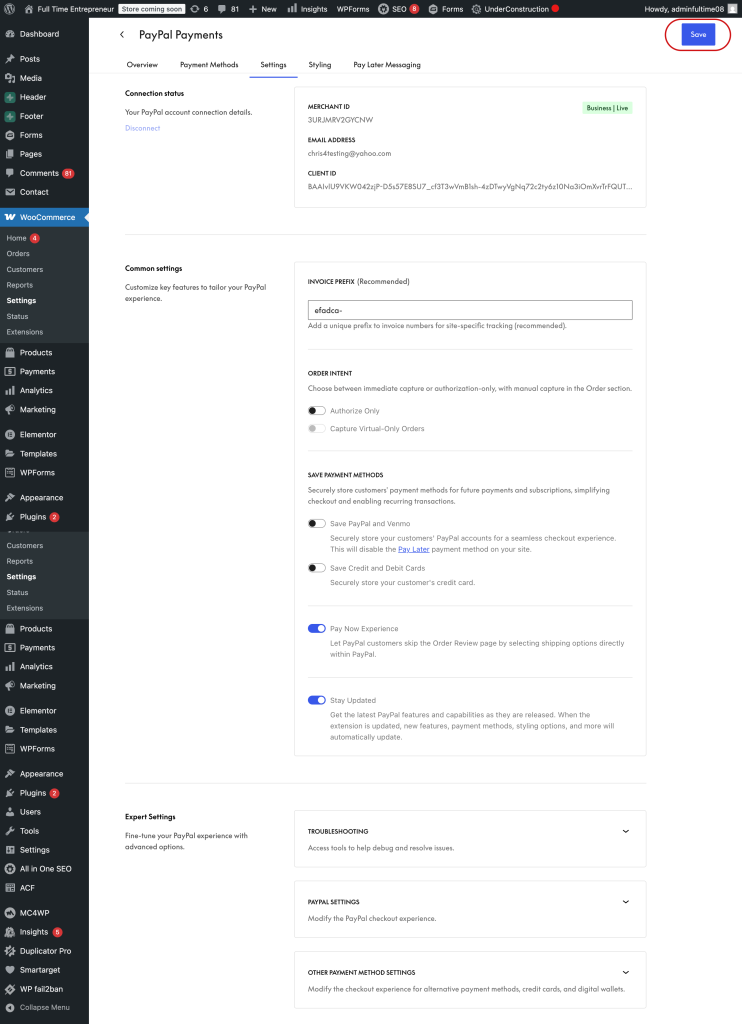
Settings
Styling
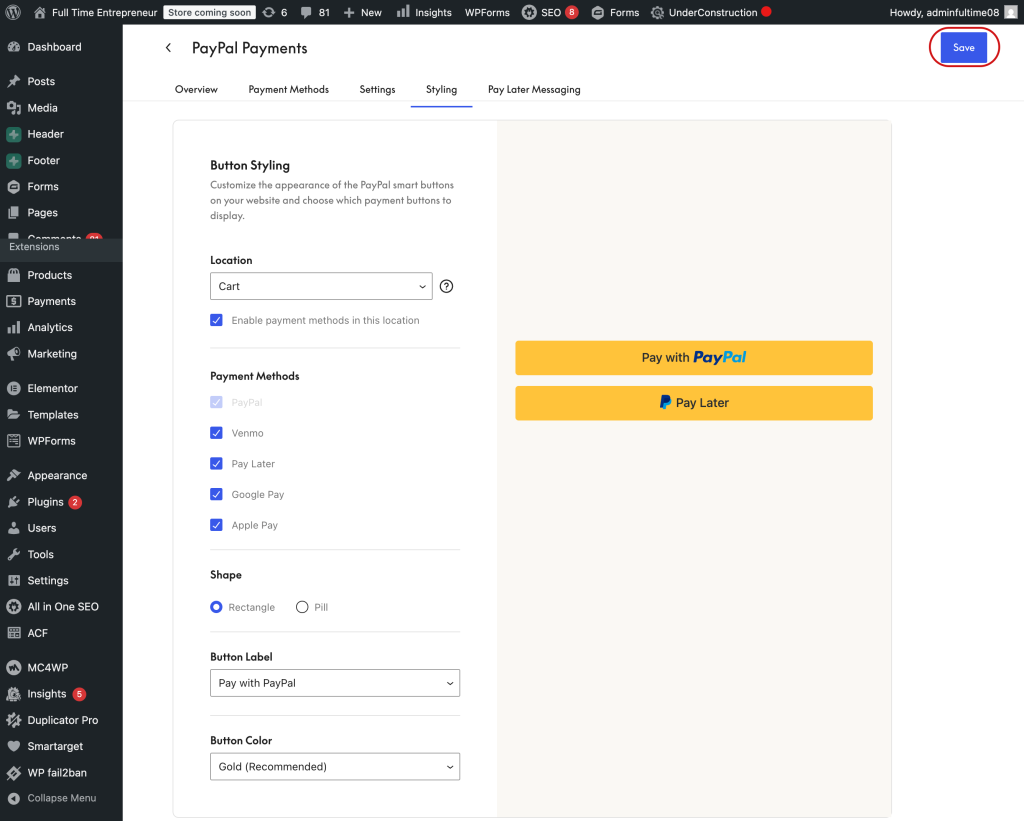
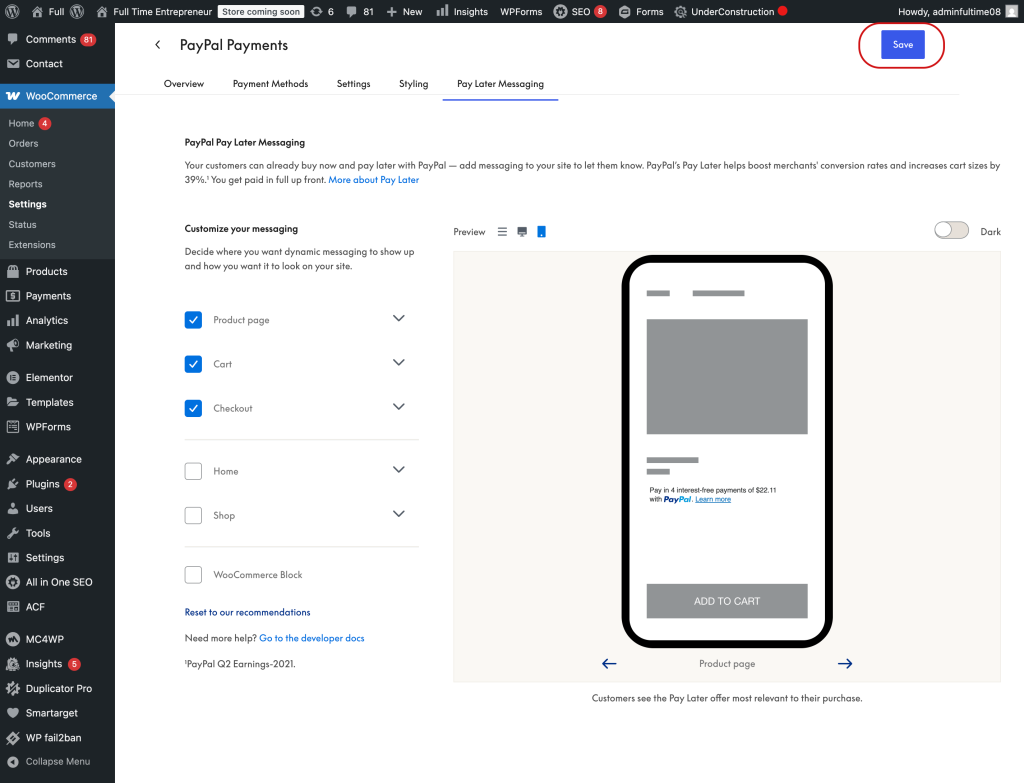
Pay Later Messaging